Pasted Wallpaper - Installation Guide
On this page you will find everything you need to know about both the Installation and Removal of the Pasted Wallpaper.

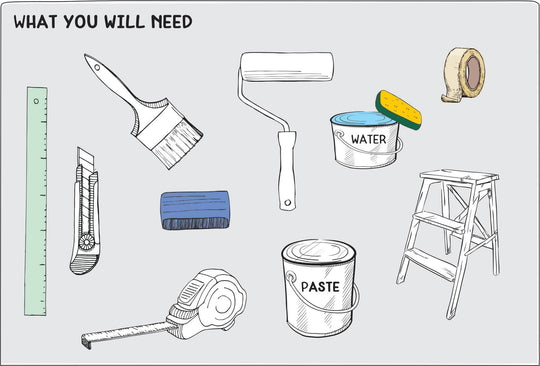
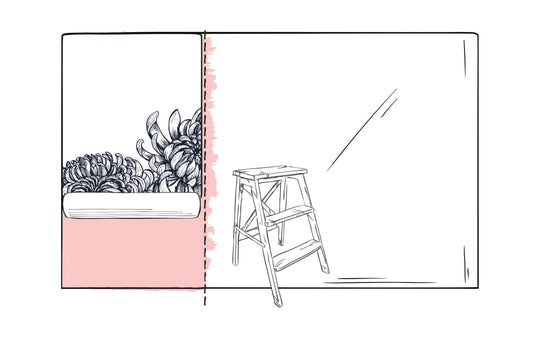
getting Started
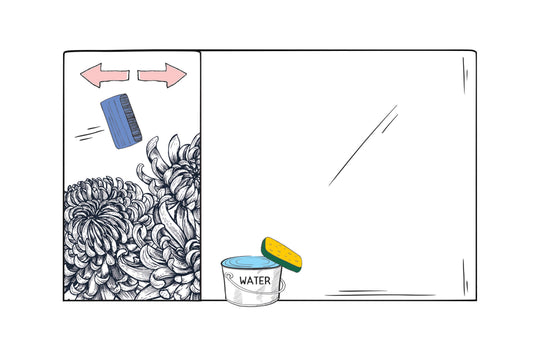
Before we begin, we first need to look over your wall for any imperfections that might stop your Wall Art from laying nice and flat. Remove any picture hooks and give the wall a quick wipe to remove any dust, dirt or grease.
Important: If your wall has been painted with a Teflon or Wash & Wear paint, we strongly recommend priming your wall with low sheen ceiling paint first. Teflon paint will repel the paste making it impossible to get an even coat.
Tip: The cleaner and smoother the surface the better your Wall Art will look and the easier it will be to install.
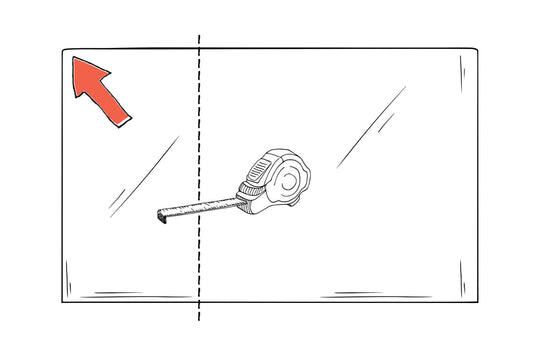
1. Always Begin From The Top Left
It’s crucial that you always start the installation of your Wall Art from the top left-hand side of your wall.
With a tape measure work out how far the 1st panel will sit on your wall.
Tip: You can do dry run with the 1st panel to see how your wallpaper will sit and how it will line up against the roof line.
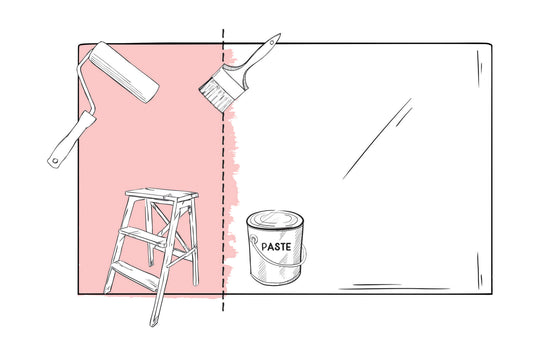
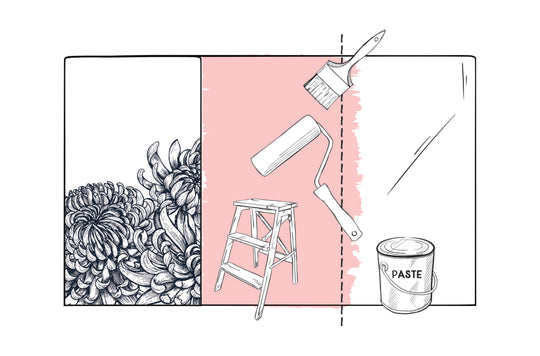
2. Apply Paste For Panel Number 1
Apply your wallpaper paste to the section of the wall where panel 1 will hang only.
You want to cover the entire area with a nice even coat. You do not want the coat to be too thick.
Tip: You can apply paste a few cms past your mark to ensure that you cover the entire area.
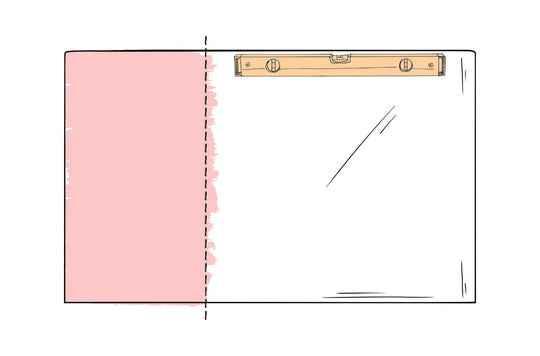
3. Panel No.1
Important: Panel “No.1 is the most important panel of them all. This panel sets up how every other panel will follow on so it’s essential that this panel lines up nicely with the top of your wall (or cornice) and the side of your wall.
Tip: Most walls are not perfectly level if yours is not, each panel comes with 30mm extra in length so you can start the panel up to 15mm above the cornice if need be. This extra will be trimmed at the end of installation.
4. Panel No.1
Unroll the panel and apply it to the wall. Try to get the panel on the wall without the print coming in contact with the paste. This part can be made easier with the help of a friend.
Hint: You should be able to slightly slide your panel around to get it into the perfect position.
Tip: If there is paste on the print don’t worry it can be wiped off with warm water and a sponge or clean rag.
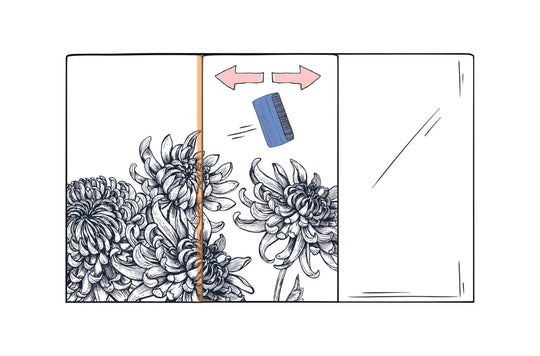
5. Using The Applicator
Using the supplied applicator apply firm pressure to the panel making sure that you don't miss any part of the panel.
Tip: Be careful near the edges there will most likely be paste that you will come in contact with. If you do get paste on the applicator or the print use the sponge and warm water to get it off.
6. Paste the area for panel 2
Follow the same procedure as previously done for panel 1.
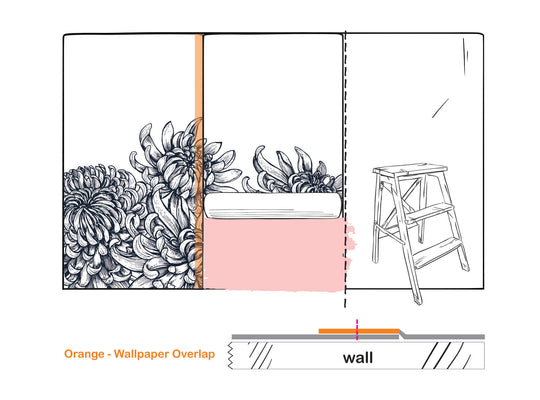
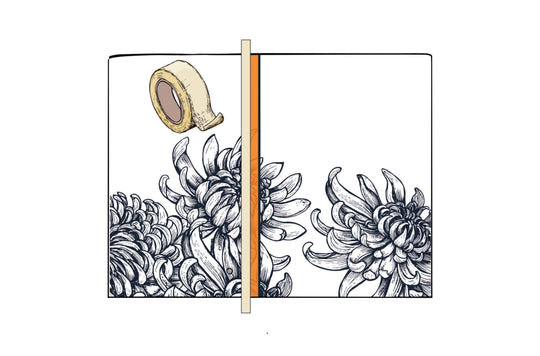
7. Overlapping Panels (Panel 2)
The only difference with applying panel 2 is there will be approx 20mm overlap on the left hand side where panel 1 and 2 meet (orange area in the picture on the left).
Once lined up continue to apply as per step 5. At the end of installation we will cut the join.
8. Overlapping Panels Con't
Follow the same procedure as previously done in step number 5.
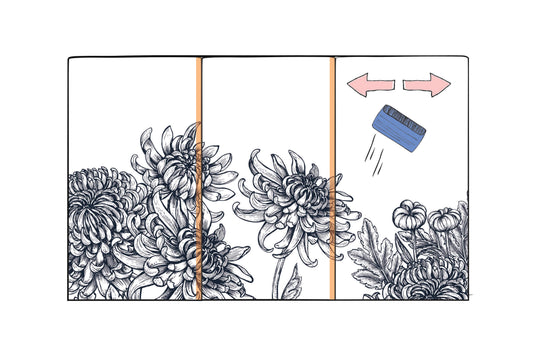
9. Remaining Panels
Follow the same procedures as previously done on panels 1 and 2.
10. Double cut or pasted overlap?
There are 2 options for joins it’s up to you which one works best for you?
With the double cut join the final result will end with a butt join (meaning your wallpaper will be completely smooth from panel to panel).
With the pasted overlap option the join will look exactly how it does now we just need to add a little paste to stick it down.
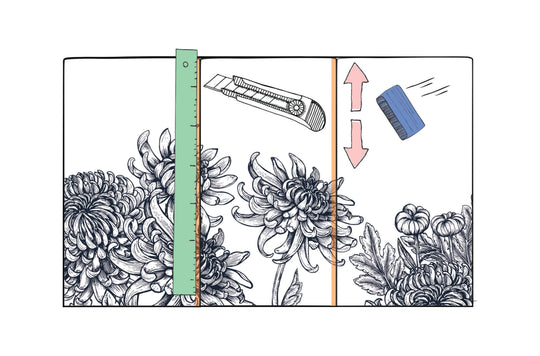
11. the Double Cut join
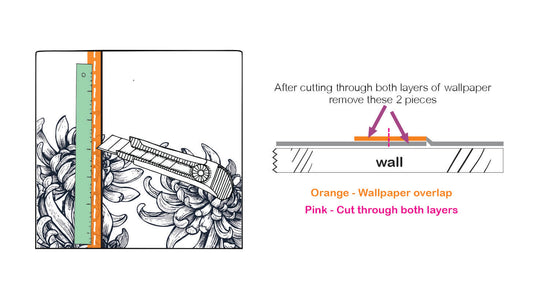
With the double cut join use your knife and ruler to cut through the middle of the overlapping section (you want to cut through both the overlap and the panel underneath it).
Once you have cut through both layers remove the trimmed overlap and the trimmed section underneath the overlap.
Then use your applicator to push the panels back down.
12. pasted overlap join
With the Pasted Overlap join run low tack masking tape along the entire length of
the join on panel 1 right next to the overlap.
Slightly lift the wallpaper on panel 2 and apply paste to the exposed area on panel 1. Once the join has sufficient paste push the wallpaper back down finishing the join and remove the tape.

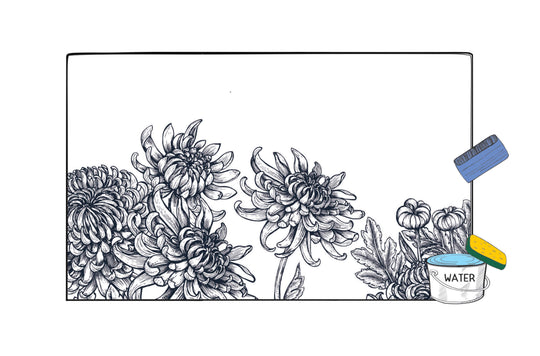
13. Trimming the edges
With your knife and ruler cut along the edges of your print where you have any overhanging sections.
Tip: You can use the hard edge of the applicator to lightly push the wallpaper into the cornice or skirting board to get a flatter edge to cut.
14. Finishing Touches
At this point we are basically done you can give the wall a quick wipe to clean off any paste you may have missed. Also you can run your hands over the wall just to make sure you didn’t miss any areas with the applicator.
Now sit back and enjoy!